Bread is a very simple food, using only three main ingredients – flour, water and yeast – yet it can vary hugely in quality, flavour and nutritional value. The Chorleywood process, introduced in the 1960s, enabled the fast mass production of bread, using lower-protein, highly refined flour with a number of enzymes and additives. The packaged and pre-sliced white bread made by this method is digested quickly, giving a spike in blood sugar, followed by rapid feelings of hunger, without providing many nutrients or benefits to the body.The recent surge in interest in artisan breads, from organic sourdough to granary, means that much more nutritious and delicious breads are now widely available, which take longer to digest and provide energy for longer. They use 100% of the whole grain, including the bran or fibre, the germ and the endosperm, which are the parts of the grain that contain protein, vitamins and minerals. Eaten in moderation, these breads make a useful contribution to a healthy diet.
So why not have a go at making your own lovely, crusty bread? It’s actually very easy and incredibly therapeutic and rewarding. Kneading the dough will work off your frustrations and give your arms a good workout too! Remember to look for proper strong bread flour in your supermarket, deli or farm shop; it contains gluten proteins, which give dough its elasticity and allow it to rise (ordinary cake flour won’t do).
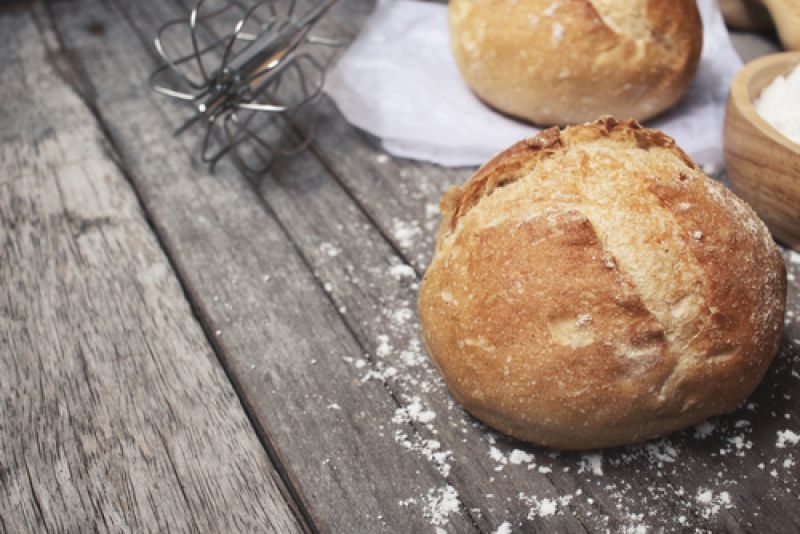
Here’s a simple brown bread recipe to get you started:
500g strong whole-wheat or granary bread flour
7g sachet of fast-action dried yeast
1 tsp. sea salt
2 tbsp. light olive oil
1 tbsp. runny honey
300 ml hand- warm water
1. Tip the flour, yeast and salt into a large bowl and mix together with your hands. Mix 300ml tepid water with the oil and honey and stir into the dry ingredients to make a soft, sticky dough.
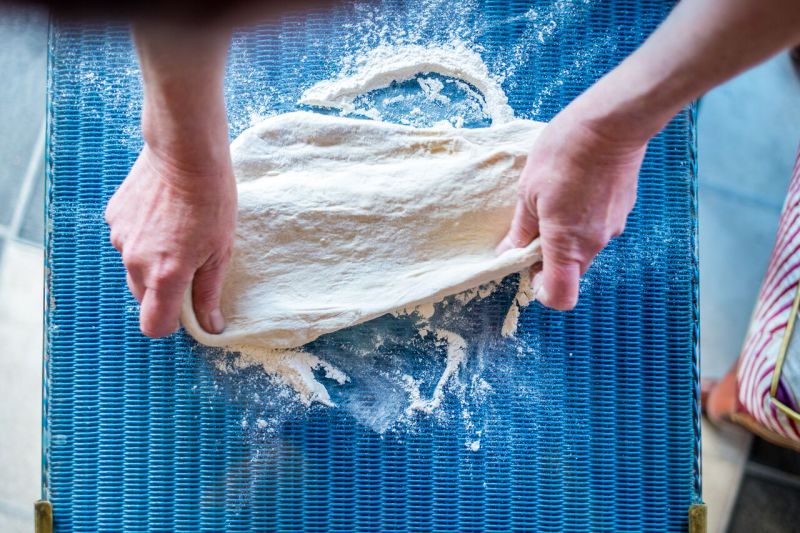
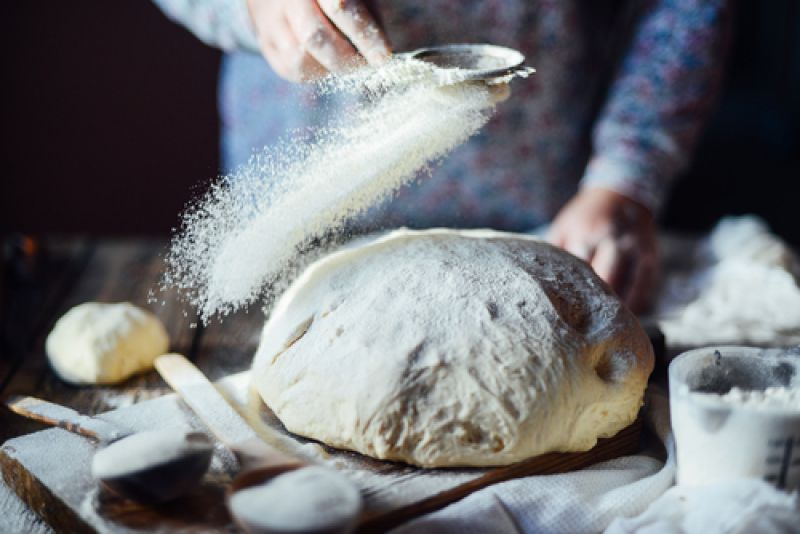
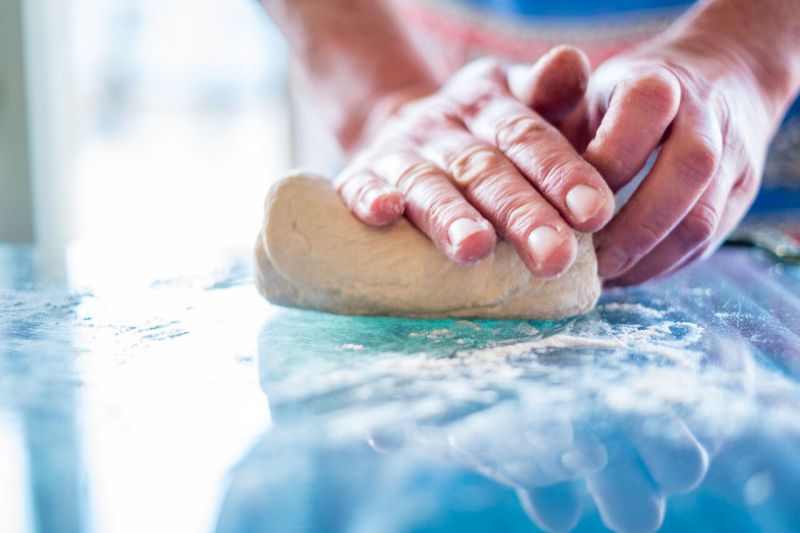
2. Turn the dough out onto a lightly floured surface and knead for 10 mins, until it no longer feels sticky, sprinkling with a little more flour if necessary. A softer dough gives a better rise; so don’t add too much flour.
3. Shape into a round and arrange on a greased baking tin or put in an oiled loaf tin. Put in a large plastic food bag and leave to rise for 1 hour, until the dough has risen well and it no longer springs back when you press it with your finger.
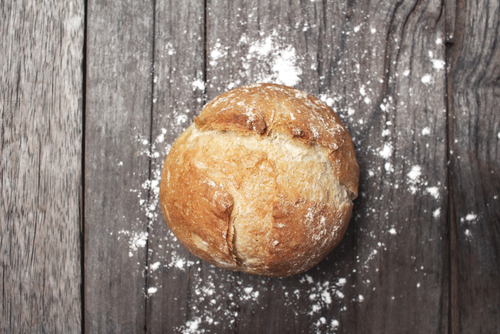
4. Heat oven to 200C/fan 180C/gas 6. Make several slashes across the top of the loaf with a very sharp knife and bake for 30-35 mins until the loaf is risen and golden. Tip it out onto a cooling rack and tap the base of the bread to check it is cooked. It should sound hollow. Leave to cool.
The basic recipe can be adapted to make rolls; just divide the dough into about 12 pieces at stage 3 and make into whatever shapes you fancy.
A real homemade loaf – it really is the best thing since sliced bread!