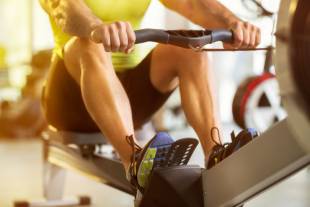
Having worked and been in the Leisure industry for almost 20 years, I am sure it is no suprise that I have seen a great deal of ’Fitness Fads’. Get in shape fast exercises and new pieces of equipment, designed to make you leaner, stronger and fitter than you have ever felt before. However throughout all these years there have been a few examples of some exercises and pieces of gym equipment that in my opinion, will never be replaced. One of these is the indoor rowing machine.
The indoor rowing machine is a very simple machine, which has the ability to cater for the beginner to expert. I have used it in my own training, as a Personal Trainer and have also used it in group classes. The muscles that we engage when rowing are almost the whole body, including Quadriceps, Hamstrings, Glutes, Laterals, Biceps and Shoulders. In addition, it’s a great cardio-vascular activity and helps you to work your heart and lungs.
But beware... the indoor rower is also one of the most under used and incorrectly used pieces of kit. Generally, many people see it as either extremely difficult to accomplish or bad for your back. The truth is that if used correctly the rower can be very beneficial and will not cause any back problems.
The Set Up
Like any piece of equipment, I would advise all members to have one of our instructors show them how to use the indoor rower and explain the various safety advice and functions it has.
But here are a few tips:
Adjust the foot strap - make sure the strap runs across the ball of your foot. I usually place my strap so it runs along the bottom lace of my trainers. Doing this correctly will give you freedom and comfort when you row, it will also ensure your leg position is neither too high or low.
Damper setting / resistance – Located on the right side of the fly wheel. The setting ranges from one – ten. One being the lightest, ten the heaviest. Unless you are rowing on a set program or workout, my recommendations are to place the setting on 4 / 5 this will save you fatiguing your arms too quickly.
The monitor – This will give you various information about your row. This will be important when it comes to tracking your workouts and setting yourself goals. My tip to start you off is to put it on a screen where you can track the time, distance covered and speed which you are rowing.
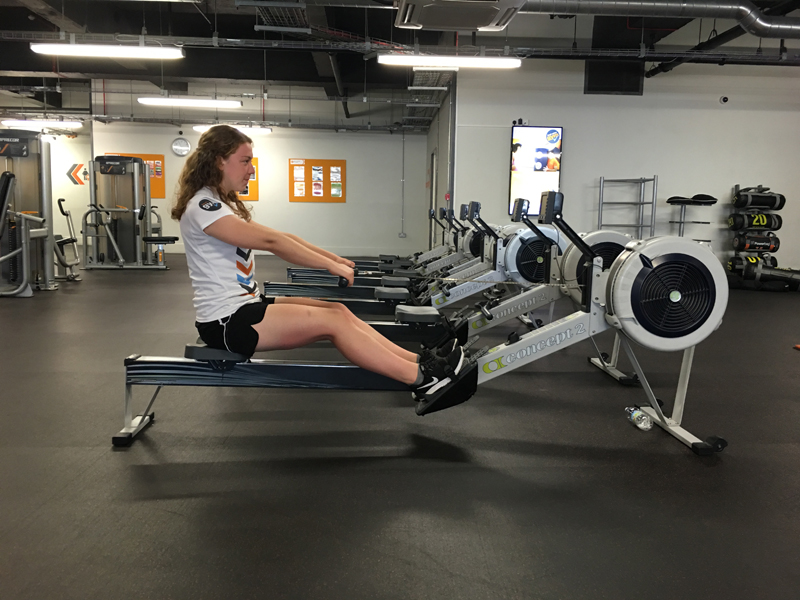
The Rowing Stroke
The correct rowing stroke is described in the 4 component parts that follow;
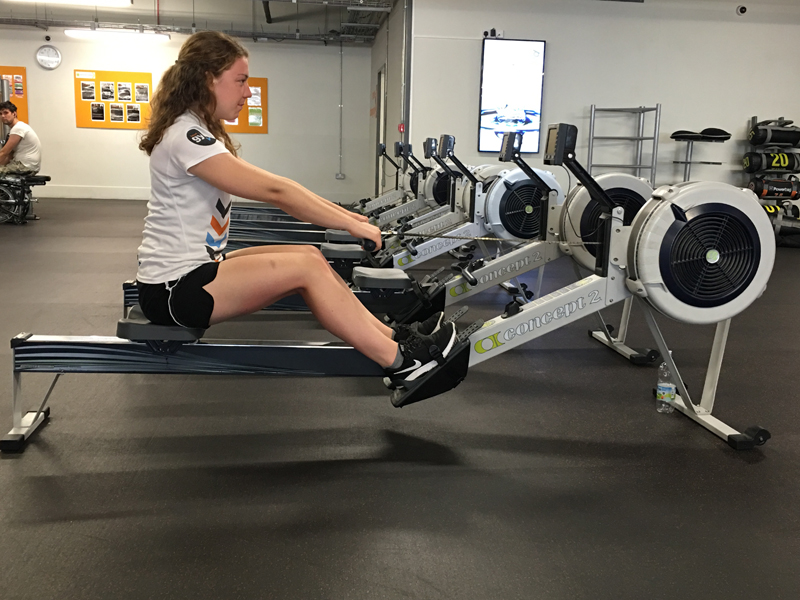
The Catch
• Arms are straight; head is neutral; shoulders are level and not hunched.
• Upper body is leaning forward from the hips with the shoulders in front of the hips.
• Shins are vertical, or as close to vertical as is comfortable for you. Shins should not move beyond perpendicular.
• Heels may lift as needed.

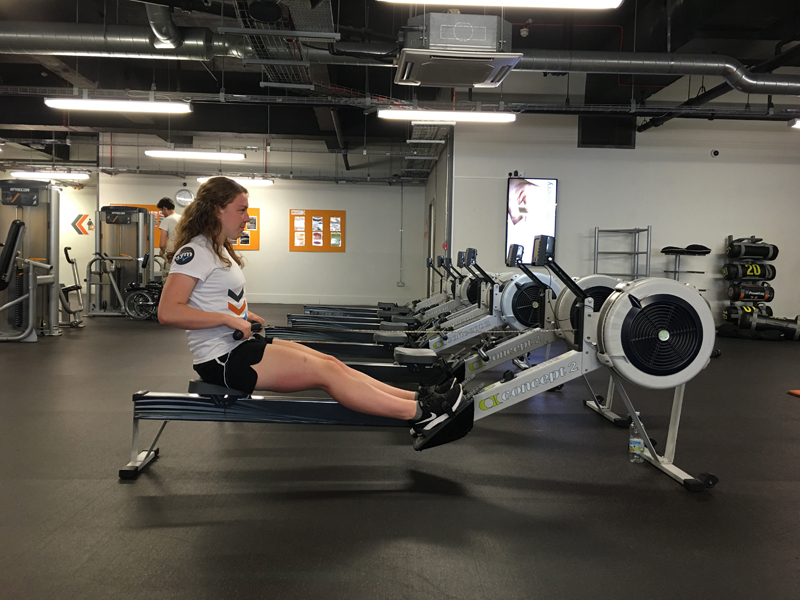
The Drive
• Start the drive by pressing with your legs, and then swing the back through the vertical position before finally adding the arm pull.
• Hands move in a straight line to and from the flywheel.
• Shoulders remain low and relaxed.
The Finish
• Upper body is leaning back slightly, using good support from the core muscles.
• Legs are extended and handle is held lightly below your ribs.
• Shoulders should be low with wrists and grip relaxed. Wrists should be flat.
The Recovery
• Extend your arms until they straighten before leaning from the hips towards the flywheel.
• Once your hands have cleared your knees, allow your knees to bend and gradually slide the seat forward on the monorail.
• For your next stroke, return to the catch position with shoulders relaxed and shins vertical.
 Broken down into legs, arms, arms, legs.. and repeat!
 The follwing are some programe and workout ideas to try if you would like to include some indoor rowing into your routine.
For a Beginner Just row – plain and simple
Start out with just 5 minutes at a steady pace of 24/26 strokes per minute, this will help you adjust to rowing. Track your distance; you will soon start to see your distance covered increase over the 5 minutes.
Next step..
Increase your time to 10 minutes or try covering 2000m. Again track your time or distance covered.
This will give you a great base to start pushing your workouts to more intense programmes.
HIIT Sprints Keep your speed to around 26 strokes per minute and focus on the power of the drive.
30 seconds hard (100% effort)
30 seconds recovery
Repeat 5 times
2 minute recovery
30 seconds hard (100% effort)
30 seconds recovery
Repeat 5 times
2 minute recovery
30 seconds hard (100% effort)
30 seconds recovery
Finish with a slow row cooldown.
Too easy? Reduce your 2 minute recovery to 90 seconds or get off the rower and do some squats or lunges for 90 seconds. Ensure your 100% effort is 100% effort.
Pyramid (my favourite)
Keeping your speed at 26 strokes per minute (spm) and working between 75 – 100% effort.
Row 100 metres
Rest 1 minute
Row 200 metres
Rest 1 minute
Row 300 metre
Rest 1 minute
Row 400 metres
Rest 1 minute
Row 500 metres
Rest 1 minute
Row 400 metres
Rest 1 minute
Row 300 metres
Rest 1 minute
Row 200 metres
Rest 1 minute
Row 100 metres
Rest 1 minute
5 minute cooldown / recovery.
Total distance covered 3000 metres.
Too Easy..? Reduce the recovery to 30 seconds.
Why I like the rower...
Anyone can do it.
Low body impact.
Easy to learn how to do it properly and effectively
Gives you a great workout
Can challenge you and give you a great sense of achievement.
This blog was researched and put together by our manager Luke Johnson at Fitness4Less Southend, Luke is passionate about fitness and training, taking in both tried and tested techniques and bringing new innovative ideas to the company.